Tuesday, April 10, 2018

Crafty Corner: Accio Baby Crinkle Toy!


My friend L and her hubby T are having a baby in just a few weeks! Last month, we had a baby shower to celebrate their growing family - I should mention that the Mom-to-be is a HUGE Harry Potter fan (Seriosuly, in a game of HP trivia she is truly a wizard of knowledge...she can recall the tiniest little detail that no mere muggle could ever remember! It’s amazing!)....so our lovely shower hosts went all out to include thoughtful little touches of the HP throughout their home:


Soooooo cute, right? It was a truly magical event! I wanted to jump in on the HP fun as well so decided to try my hand at creating a Baby Crinkle Ribbon Toy....Potterized!

I had never made one of these before so took to the internets to gather some intel from those who had (no need to reinvent the wheel here). There were many tutorials to choose from, so I used a few as reference to come up with a plan that would work for me.

A glance at the supplies:


The fabric (cut roughly in 8X8in squares....because I purchased the cute HP patterned swatch from ETSY and that’s how big it was 😉):


The ‘Crinkle Paper’ (Options: Baby wipes wrapper or a silver cracker packaging. I ended up going with the cracker packaging because it was a little more Crinkly):


The Ribbon (The plan: Ribbon tags to represent the colors of 1 Hogwarts House on each side of the square):


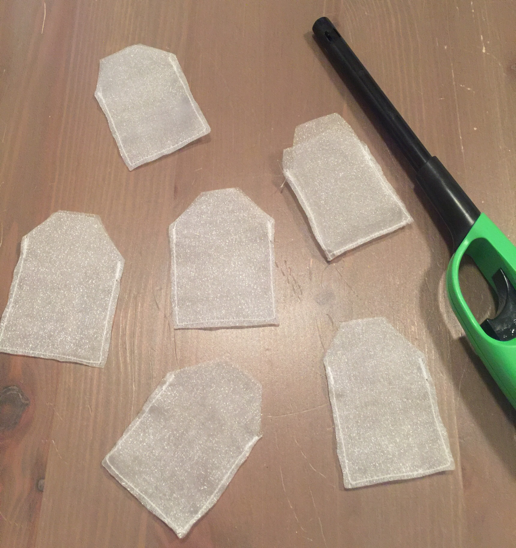
The fancy HP glasses fabric would stand alone on one side, but I wanted to add a little something to the grey fabric on the other side. Visions of the Deathly Hallows danced in my head in a dream a few nights before so I went with it. I found some iron-on fabric at the Hob Lob and cut out the pieces of the Hallows to iron on before starting the ribbons. I made a paper template to cut thru using a rotary cutter, ironed on and then also sewed into place (for durability as a baby plays with it):


Now onto the Ribbons! This was the part I was feeling a bit of stress about- one Blog just said to hold them in place and layer the fabric square and crinkle paper on top. That seemed wrought with possible ribbon holding failure so I listened to another one that said to sew them into place first- it was a good idea. 

The ribbons should be placed with the loops facing in towards the middle so they are right-side-out after all the pieces are sewn together....it’s confusing to visualize in your head, but just trust those crafters who have gone before you on this one. I placed them, pinned them and then sewed them into place:


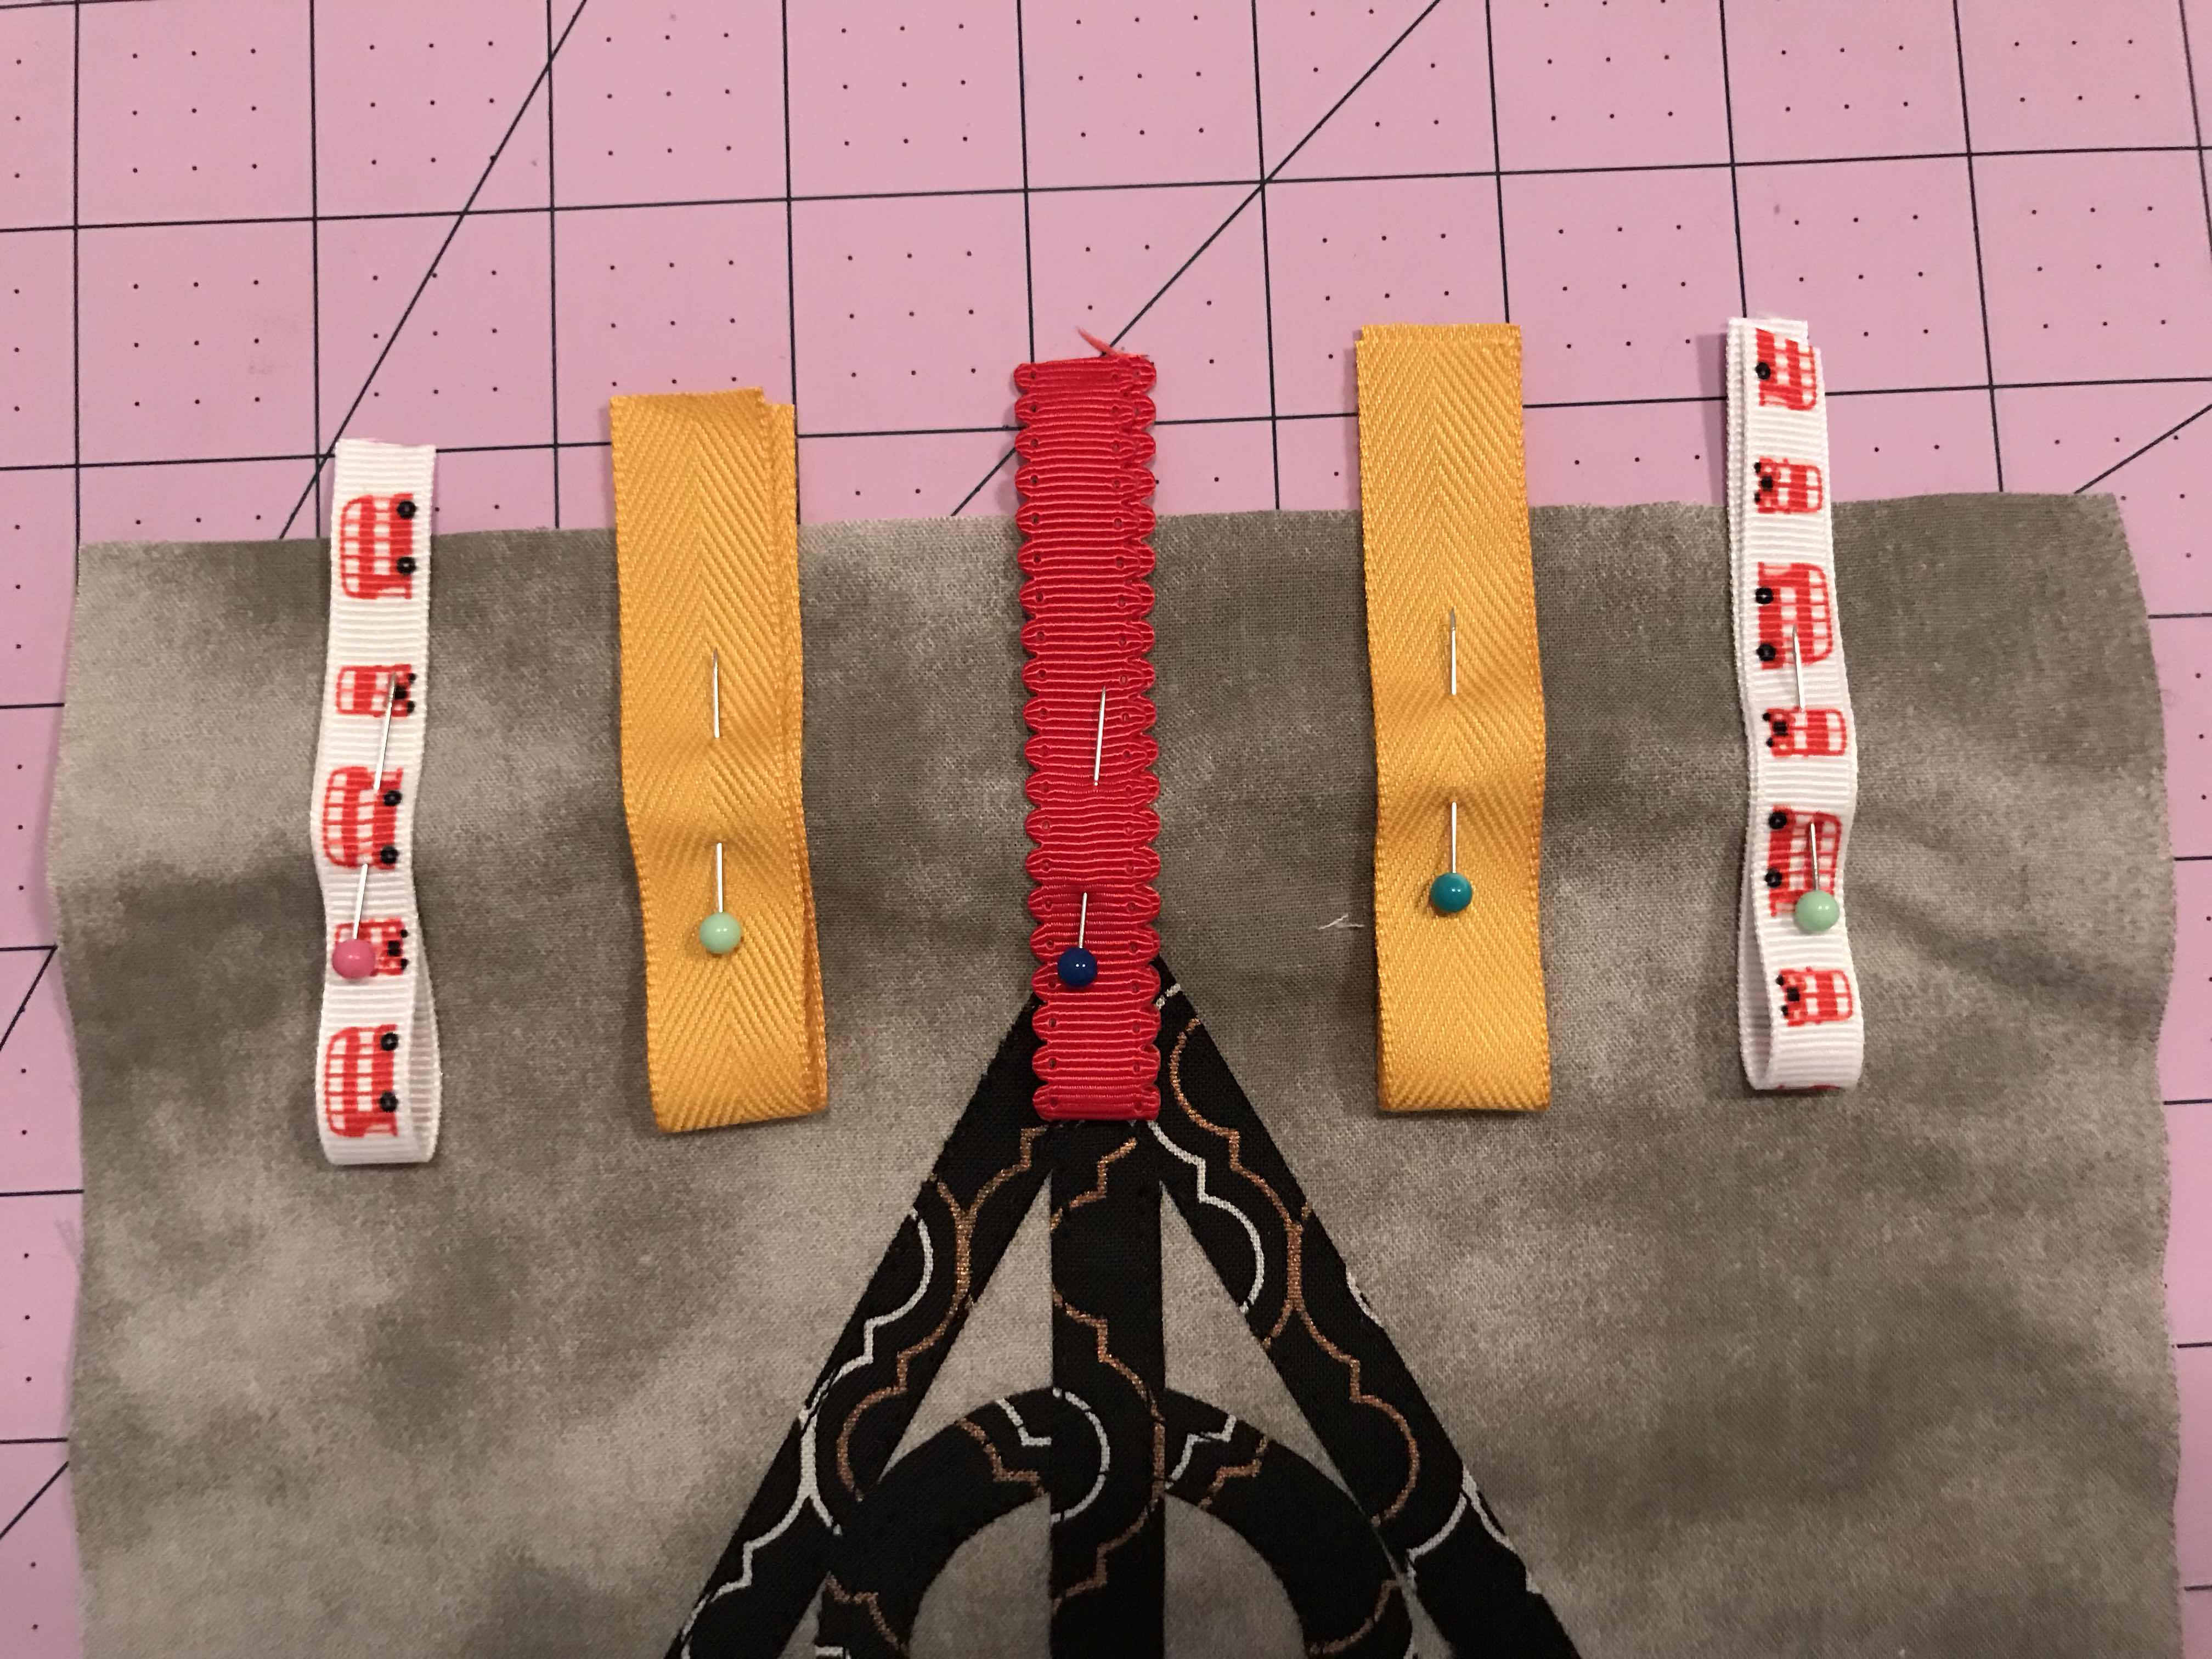
And did the same with the other 3 sides!


Now we layer all 3 pieces together! Place the first piece of fabric with the pattern facing you:


Then the other square piece of fabric with the pattern facing down:


Then the crinkle paper and pin it all in place:


Carefully sew the 3 pieces together - leaving an opening on the middle of one side so you can invert the whole project right-side-out at the end. I also trimmed off a little of the excess fabric on the edges after it was sewn so it wouldn’t be too bulky when turned out:


Once turned out (which is a bit of a challenge when you don’t make the opening quite wide enough....oops! Note to self for next time!), sew the little opening shut and you are all set!


I also sewed an extra zigzag stitch around the whole square at the end to look fancy and to also really make sure those ribbons were held in place....baby safety first!


Projecto Completidio!! I don’t know....um, that was my fake Harry Potter spell way of saying that this little sewing project was a success? That’s how cool I am.


Tuesday, March 6, 2018

Sequins & Sofas: 5 Things


Time for another installment of 5 things that are enjoyable in life....we shall call this ‘The Bathroom Edition’!

1. Rearranging your cluttered base cabinet space under the bathroom sink...because it’s just awful and you can’t find a thing:


 It may not look like much of an improvement to the untrained eye....but trust me, it’s so much more functional now. All it took was a few cheap shelves and 1 garbage bag to toss away SOOOO many old and expired beauty products (worse than the time I cleaned out my spice rack..and there was a jar of onion powder from 2009). Here’s the little shelves I purchased from Target to make the magic happen:


2. Arbonne Gentle Daily Moisturizer:


I used Clinique in the past (which was just fine) but decided to switch over to Arbonne- I know all of the ingredients are safe and beneficial to my body and already was using the CC Cream Foundation...seemed like a quality duo to care for my face. It’s been about 6 months and I feel like it does a great job of keeping the moisture locked in during the cold, dry winter season and breakouts have been minimal...we’ll see how it performs this summer!

3. GHD Classic Flatiron Styler:


This thing is da BOMB dot com. I splurged a little on this tool and I’m so glad I did. It doesn’t even have a button or knob to select a heat setting....it just KNOWS what my hair needs and that’s how hot it gets....it just KNOWS! 

4. The BEST tweezers:


I think I saw these on some ‘Best beauty tools of 2017’ list around Christmas time so I gave them a try. And the list was speaking beauty truth! The Tweezerman is not playing games when it comes to your pesky facial hair removal needs (and I’m sure it does a bang up job on splinters and such as well). Got a semi-unibrow situation going on? The Tweezerman will get you back on track. Embarrassing chin hair that refuses to take a hike? Not a problem for my pal The Tweezerman. Perfect angle, good grip...it’s gonna be your new best friend.

5. The Squatty Potty!!


Ok, so I realize that talking about things related to using the potty (that’s what I call it because I hang out with 2 year olds for most of my waking hours) are maybe not 100% socially acceptable. But, you guys, we have been going potty all wrong for way too long and it’s time to educate the masses. I won’t elaborate any further...but I love my Squatty Potty and that’s all I’ll say about that- check it out for yourself and your body will thank you! https://www.squattypotty.com/

Bonus Like- My latest tattoo adventure:


This has nothing to do with bathrooms or beauty products or potties but it’s all healed up now and and I’m in love with it...so I share:)

Happy Wednesday, friends!

Tuesday, February 13, 2018

Crafty Corner: Time for Tea


I have a friend with a toddler who LOVES to pretend in her play kitchen- she prepares tasty snacks for friends when they come to visit and serves a mean cup of coffee.

She also recently became interested in tea so her mama let her add a few real teabags into the mix (super fun)! But after a little while, the bags ran the risk of breaking open....an inevitable Tea-tastrophy!!!

My mind began to brew an idea (see what I did there?) to create some tea bags that would stand the test of time and allow her creative tea time play to flow freely!

The supplies: White organza fabric, silky white cord, mini pom poms, thick interfacing (also a sewing machine & a lighter...to burn stuff!)


Step 1- Cut the fabric into teabag sized shapes (2 organza rectangle shapes per teabag). Sew them together along 3 edges (leaving the top open) and then cut off the excess along with the top two corners to give it that teabag shape!
 
At first I thought I would turn the bags inside out after sewing so the thread would be hidden. But after trying that, it got a little puffy and didn’t sit flat....and I think I liked the rough edge better anyway! I did go around the edges with my trusty flame to seal off the fabric and prevent it from fraying when played with (just be careful not to get too close and set it on FIRE!):


Step 2- Fill them with ‘Tea’...teeny tiny multicolored pom pom balls:


Step 3- The string and tea tag. I chose a thin, silky cord for the string and then went to the sewing machine to embroider letters onto some thick-ish interfacing I has saved from another project. I ‘wrote’ out the word TEA with my handy dandy machine for each of the 6 bags I had made and cut them all out in a tag-like shape. Then cut a matching blank shape to be the backing...sandwiching the cord in the middle and sewing all around the edge to secure:


Step 4- Putting the 2 parts together...I tied a little knot at the end of the cord and melted it just a little with the flame to keep the knot from eventually slipping, then placed it into the open bag and sewed the top shut:


Tea is served!! I was pretty excited to present this gift to my toddler friend...wrapped them up in an old tea box for delivery:


Cutest little pretend tea ‘drinker’ on the planet!!